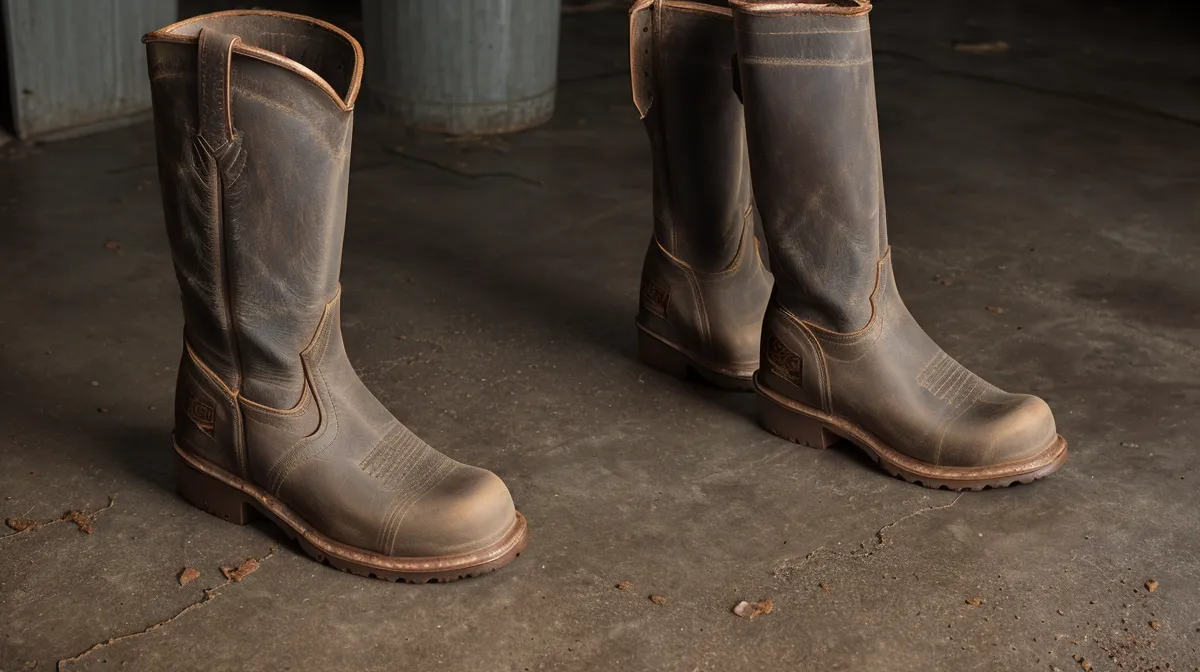
White salt rings had crusted hard across both vamps of my Rocky boots, the leather gone pale and stiff everywhere road brine dried into the grain. Four months of parking-lot slush and warehouse floor grit will do that to any pair of work boots, careful stepping around puddles or not. Skip the leather boot care side of winter prep and by summer you're looking at cracks straight across the flex point by the toe cap instead of another two seasons out of a solid pair. None of this is complicated. It's just boot maintenance most guys put off until it's too late.
What Winter Salt Actually Leaves Behind on Work Boots
Most guys figure a wipe with a shop towel handles it, or that walking through a puddle out back on the loading dock rinses things clean enough. Road brine around Pittsburgh carries heavy calcium chloride, the same de-icer that chews through truck undercarriages, and it works on hide somewhat the same way over a hard season. Drag a thumb across a dry vamp and feel sandpaper where soft oiled leather used to sit, and you already know everything you need to know without a chemistry lecture.
The fine concrete dust we track across twenty-some aisles of pallet racking every shift doesn't help the situation either. It pulls moisture straight out of untreated leather right alongside the salt. By the time the weather turns, you're not wearing a boot anymore. You're wearing stiff cardboard waiting to split along the flex point behind the steel cap.
Don't Smother Salted Leather in Oil Right Away
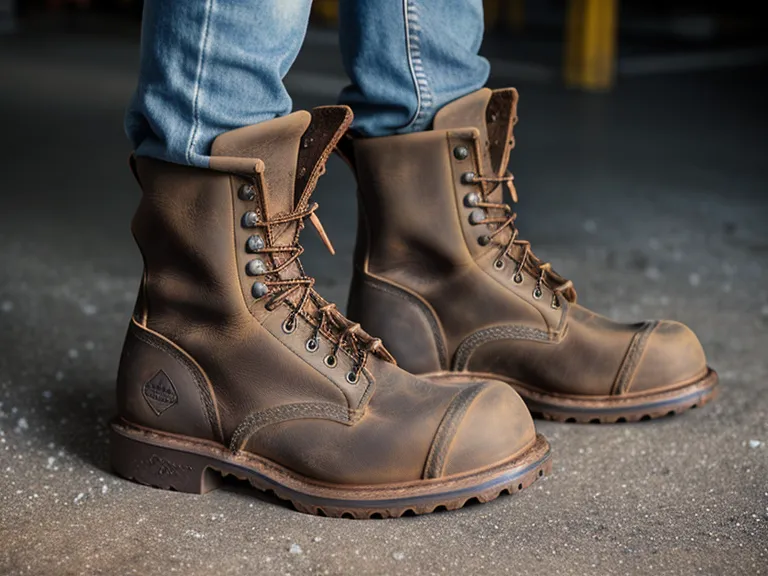
DeShawn asked me about this on the floor a while back, right after he caught sight of the salt crusted on my boots and figured a thick coat of oil would fix it on the spot. Why not just grease it now and be done with it, he wanted to know.
Here's the problem with that. Oil a salt-crusted boot before you've cleaned it and you seal those crystals in under a waterproof layer, trapping whatever damp is still sitting in the hide underneath. The leather doesn't get fed, it gets suffocated, and the welt stitching is usually the first thing to give once that happens. You pull the junk out before a single drop of conditioner goes back in, no exceptions.
I used to handle this a different way entirely: grab the cheapest steel-toe pair out of the Walmart bin every few months and just write the whole pair off as disposable the second the vamp got ugly. That's a quick way to spend more over a year than one decent pair would have cost you, and it never once solved the actual salt problem. It just hid it under a fresh box every season.
Strip Everything Down Before Water Touches the Leather
Before any water or soap comes near the boot, strip it down to bare hide. Pull the laces completely out instead of just loosening them enough to wedge your fingers behind the eyelets. Frayed laces from dragging across industrial floor grates go in the trash; a fresh pair costs less than a fast-food run and saves you from snapping one at four in the morning on your way to clock in.
Pull the footbeds next, aftermarket orthotic or stock, so the cavity underneath can actually breathe. I run a size 11 wide, and moisture from an eight-hour shift on cold concrete builds up under the ball of the foot no matter how breathable the lining claims to be on the box.
Curt, the guy on our crew who somehow always has the cleanest boots on the floor, says the dry-brushing step is the one everybody skips because it feels like busywork. He's right that it's tedious. Use a nylon or horsehair brush, work the whole boot, and concentrate on where the upper meets the sole. That welt groove collects grit and metal shavings like a gutter on a house, and if you add soap while that's still packed in there, you've just made an abrasive paste that grinds down your stitching.
A Proper Saddle Soap Wash, Not a Hose-Down
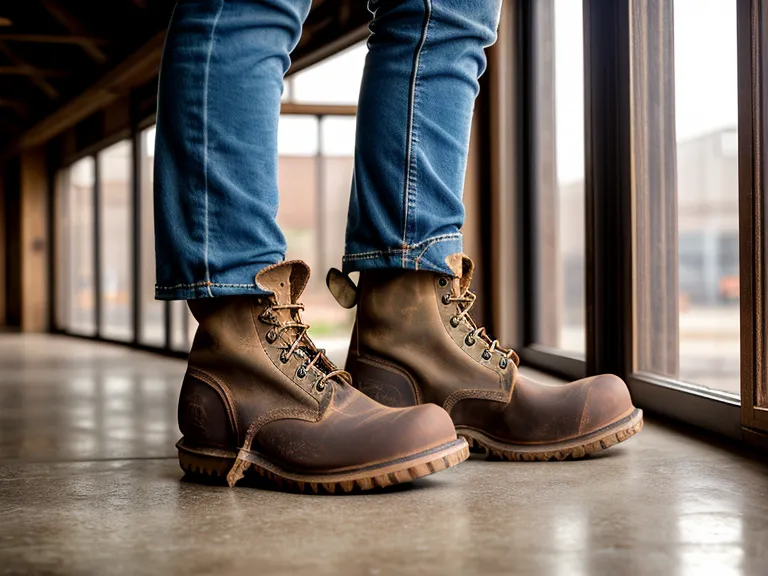
You don't submerge the boots in a sink or blast them with a garden hose. Controlled moisture only. Grab a tin of saddle soap, a small bowl of lukewarm water, and a medium-stiff brush, dampen it slightly, and work it into the soap until it lathers thick.
Work the suds into the vamp in tight circles, paying attention to the deep crease lines where your toes bend, then open up the tongue gussets and scrub the grey grime out of the folds where winter runoff collects after working down through the eyelets. Wipe the dirty suds away with a damp rag as soon as the dirt lifts. Let them sit and dry on the leather and you're just redepositing what you worked so hard to get out.
Let the Leather Dry on Its Own Time
This is the step where guys lose patience and ruin a good pair. Washed leather feels damp, swollen, and cold. Don't put it near a furnace vent, a space heater, or a hair dryer. Forced heat on wet hide curls and hardens the fibers permanently, and you end up with boots that pinch at the toe and split within weeks.
Since the footbeds are already sitting on the shelf, the cavity underneath stays open and breathes fine without any help. Set the boots somewhere with steady airflow, away from the radiator and out of direct sun, and leave them alone for a full day before you touch them again.
Conditioning the Leather Without Drowning It
Once the boots are clean and fully dry, the leather looks pale and a little chalky. That's normal. You just stripped off the old oxidized wax along with the dirt, and the hide is open and ready to take in fresh conditioner without locking any salt underneath it.
For full-grain leather built for shift work, I stay away from the heavy petroleum waxes unless you're standing in actual mud outdoors all day. A plain neatsfoot oil blend does more for breathability. Boots with a sealed waterproof membrane instead of treated leather skip most of this step entirely, which is the trade some guys make and the reason they ask me why I bother.
Start with a nickel-sized dab, work it across the vamp and up through the quarters, and pay extra attention to the welt seam where water gets in first, but keep the coat light. You can always add a second thin pass tomorrow. You can't pull oil back out once the leather's soaked past the point it wants.
Let it rest a couple of hours so the oil actually penetrates, then buff the whole boot with a dry brush in quick strokes. That friction spreads the leftover surface oil around and leaves a satin finish that sheds dust instead of grabbing it. A synthetic or coated upper never needs any of this, which is part of why full-grain leather costs you more time even when it outlasts the cheaper stuff.
An Hour on a Weekend Changes Everything
Eight weeks into actually keeping up with this instead of just grumbling about the salt every January, I did my usual Monday morning lap past the first four aisles of racking and noticed my heel hadn't rubbed once the whole walk. That's not nothing after a winter that chewed through boots left and right.
That's the actual payoff of regular boot maintenance in the middle of a Pittsburgh winter. Not that the boots look better on a shelf, but that you stop thinking about your feet at all somewhere around hour six of a shift. That's the whole point of a pair of boots in the first place.
I keep more than one pair in rotation for exactly this reason, and figuring out which pair goes where on a given day usually circles back to the same question I get into with Soft Toe vs Steel Toe Boots for Supervisors in Large Facilities. Different tasks wear different parts of a boot down, so match the boot to the job first and worry about matching it to your closet second.
Now, to be clear about what I am and am not: I troubleshoot packaging conveyors and drive scissor lifts for a living, not a cobbler and not a podiatrist. If your feet ache down to the bone every night or you're dealing with heel spurs that won't quit, cleaning boots isn't going to fix that; go see an actual podiatrist about it. But when it comes to keeping good leather alive through a rough winter and a grimy distribution floor, soap, patience, and a light coat of oil will keep a pair working long after the salt season's done.